
The full document can be read continuously from the location of the cursor. The information spoken to the user can be adjusted in a variety of ways to control how much detail is in the audible feedback the user receives.
Talking Editor provides multiple Notes which the user can view and edit. When the user closes the application or switches to another Note, the current Note is saved. In a new session, Talking Editor opens in the last Note that was edited. Daily backups of all Notes are also automatically made.
Talking Editor content is displayed with a user-selected color pair. All text in a Note uses an Arial Black font. The user can change the font size, which is applied to all text in all Notes. Graphic or other visual objects are not supported by the Talking Editor.
The Talking Editor window consists of an editor that is maximized to fill the computer screen, but the Talking Editor can also be resized and repositioned by the user. When opened the first time, the contents of Note 1 are displayed with default content, ready for editing by the user. Other Notes also contain default content that is helpful in reviewing features offered by Talking Editor.
There are approximately 60 keyboard shortcuts, which can be used to take all actions and make all setting changes. A list of all shortcuts is provided at the end of this Help file.
Talking menus are also available, allowing users to take actions or change settings without having to memorize keyboard shortcuts.
For low vision users, Talking Editor can display a set of controls, with controls available for each of the available actions or settings. Right-mouse clicking anywhere on Talking Editor will toggle display of controls.
Pressing the Escape key will exit Talking Editor.
The Talking Editor window can resized like any other Windows application. Maximizing the window is recommended to ensure that a user cannot accidentally give focus to another applicaton. Changing Windows scaling does not affect text size displayed in Talking Edit
During installation, a desktop icon is placed on the user's desktop. Talking Editor can be started using the desktop icon or by using the system shortcut Control+Alt+T.
The Talking Editor installation file can be downloaded via this link: Talking Editor Setup File.
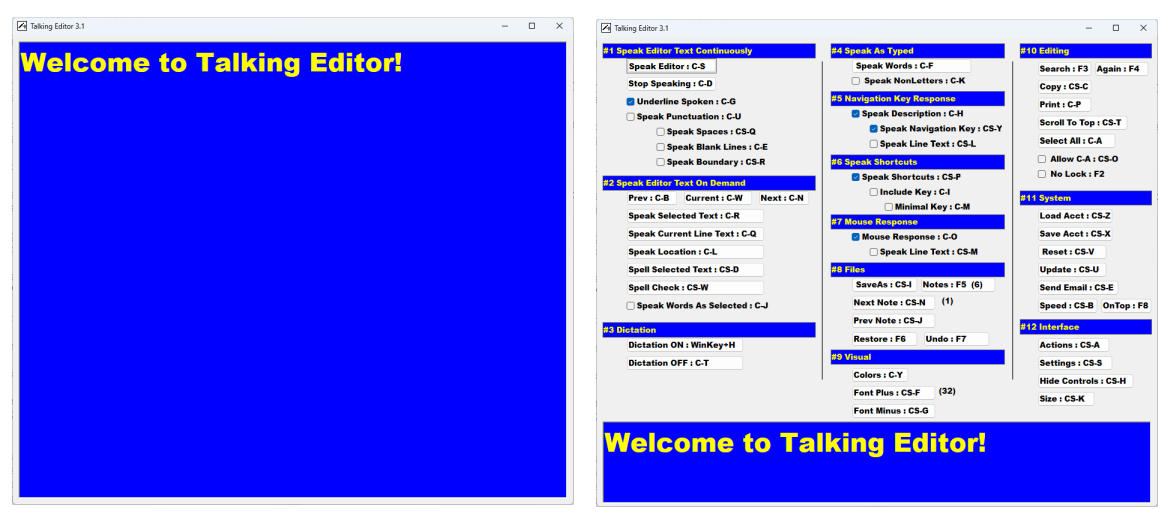
The next image show two views of Talking Editor - one with controls hidden and one with controls visible.
Talking Editor can also display the controls as 2 different sizes, as shown in this next image. Users will select the image size that is easiest for them to see.

Talking Editor features are categorized in 12 categories, each discussed in a separate section in this Help file. There are also 2 additional sections, which list all shortcuts available within Talking Editor.
Each of the sections has two parts - a discussion of available actions and a discussion of available settings.
Actions:
Settings:
Actions:
Settings:
Actions:
Settings:
Settings:
As the user moves through the document editor with navigation keys, the following audible responses are provided:
Settings:
Settings:
Actions:
Settings:
Actions:
Settings:
Actions:
Settings:
Actions:
Settings:
A special thanks goes out to my good friend Pierre Bellisle, who worked closely with me to develop the code that handles speaking punctuation elements of text.
I would also like to thank my good friend, Denise Dobbs - a blind author who has provided insight as to what features a blind user needs in applications. She has spent hours talking with me and testing my software at all stages of development.
And thank you, reader, for your interest in Talking Editor. Please send suggestions or comments to Gary Beene at gbeene@airmail.net.